Sister #1 rang to let me know I could have four or five dozen ears of fresh corn if I wanted them. Of course I did and I graciously accepted her offer. I don't have a lot of room in my veggie garden and since corn requires a lot of space, I don't plant it. Therefore, any offer of free fresh corn is not to be turned down.
Fresh corn can be preserved in several ways; you can bottle it using a pressure cooker, freeze it on the cob, or freeze it off the cob. Since corn is a low acid food, Bottling it using a pressure cooker requires a lot of time; for US quart jars you have to bring the pressure up to 75.8 kPa (11 psi) for 85 minutes. I prefer to preserve my corn by freezing it off of the cob. It is important to preserve fresh corn as soon as you possibly can. Once the corn is pulled, the sugars in the corn will start to change into starches. So the longer the corn sits, the less sweet it becomes. If you have never had fresh corn, you will be surprised at the difference.
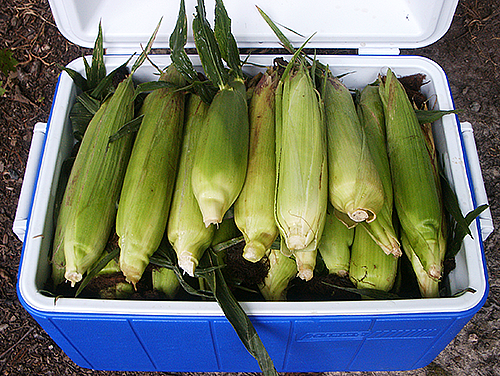 |
| Corn in husks |
The first step of course is to remove the husks from the corn. I took the cooler full of corn out to the little garden beside the shed, grabbed one of the garden chairs, and proceeded to husk the corn. Husking is a simple job; just grab the husks at the flower end of the corn and pulled towards the stalk end. When you have the husks down to the stalk end, just snap the husks off of the cob. If your corn has any ear worm damage at the flower end, just cut it off, or snap it off, and then remove as much of the silk as you can. It wasn't long before the yellow jackets began to buzz around the pile of husks and silk and parts of the flower end of the corn that I tossed onto the ground in front of me. I ignored the yellow jackets as they would not bother me unless I stepped on one or swatted at one. I am not certain of the variety of the corn, but it was a pretty yellow with white kernels spotted here and there.
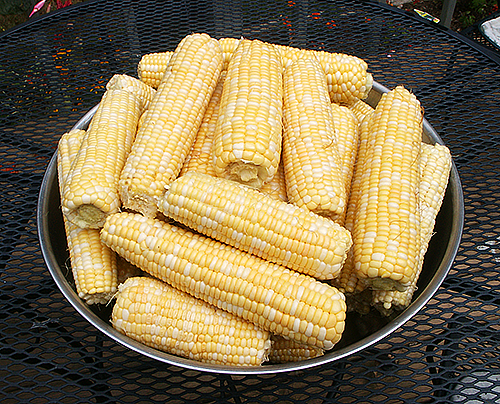 |
| Corn With The Husks Removed |
The next step is rinse the corn and remove any remaining silk. You can rub the corn under running water to remove the silk, or use a soft bristle brush and carefully brush the silk off moving along the length of the corn. When I I use to help Mum and Dad with processing the corn, my job was to use a soft bristle brush and remove the silk from the corn. I remember fondly sitting out under a shady tree in the back garden helping to process the corn. Mum would remove the husks, I would help remove the silk, and Dad would cut the corn off of the cob. Mum said that Dad was the fastest she had seen at cutting off corn; Dad would often have to wait on us to catch up to him. While Dad never taught me his method of cutting off corn, I use to watch him doing it. When later it was my job to cut off corn, I could see clearly in my mind how Dad did it. Such things as helping to process corn was a routine part of my life growing up. Children today never have to do such things, they live a life of leisure playing with mp3 players and mobile phones. I learned many invaluable things from Mum and Dad growing up and I don't understand why so many look at what I know and do with awe; such things should be common to all.
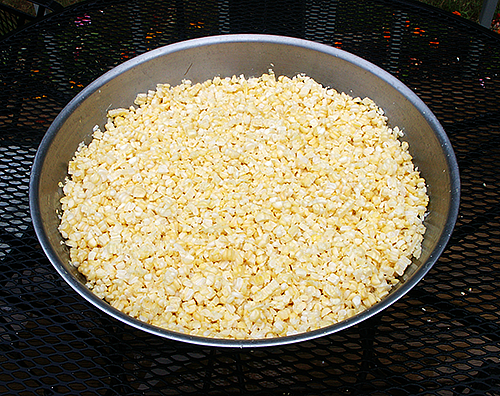 |
| Corn Cut From The Cob |
The next step is to remove the kernels from the cob. There is two methods here; some will blanch the corn first before cutting it off the cob, and some will blanch the corn after cutting it off the cob. Mum always blanched the corn after cutting it off the cob and that is the way I do it today. To cut the corn off of the cob, I hold the corn in one hand and a very sharp knife in the other hand. There are those little circular cutters for removing the kernels, but I have never used one and I can do just as well with a knife as I learned from Dad. I hold the knife parallel to the surface of the corn and at a 45° angle. I start my cut at the flower end of the corn and glide the knife along the corn just at the surface of the cob. Often the kernels will stay behind and have to be knocked off into the cutting bowl. A sharp knife makes the job quick and easy, but you need to be careful not to slice your hand. If you find it hard to hold the corn and make the cut, you can hold the corn at one end and start your cut in the middle working around the cob; then flip and finish the other end.
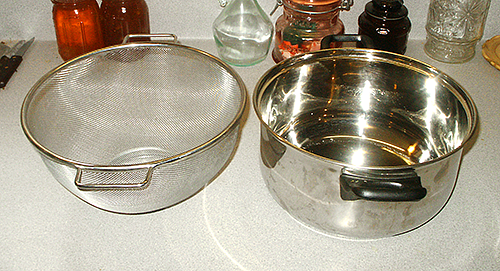 |
| Tools For Blanching |
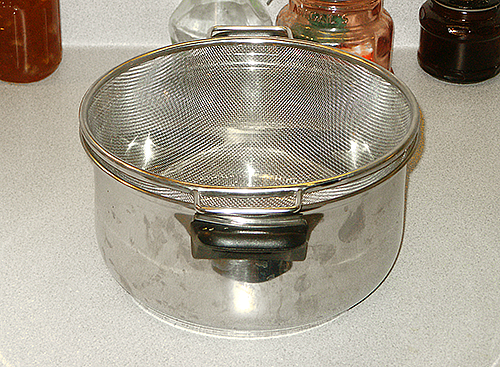 |
| Place The Wire Basket In the Pot |
The next and final steps is to blanch the corn and place it in freezer bags. Blanching is important to destroy enzymes that can cause the corn to deteriorate in storage. The method I use to blanch the corn is to use a wire basket that is filled with the corn to be blanched and then immersed into to pot of boiling water; you don't need a rolling boil, just a steady boil is sufficient. Do not over fill the pot with water; as you immerse the corn it will displace the water in the pot and if over filled, will flow out onto the surface of your cooker. Boiling water can cause serious burns, so be careful with the first immersion to make sure the water level is correct. You will also need a pot with ice and water to cool the corn after the blanching. I apologise for not taking photographs of the actually blanching process, but the description should be clear enough to give you the idea of the process.
Fill the wire basket with the corn to be blanch and carefully lower it into the pot with boiling water. Allow the corn to remain in the boiling water for seven to nine minutes. Lift up the wire basket and allow the water to drain a bit and then lower the wire basket with the corn into the ice and water bath. When the corn has cool, dump the corn out into a large bowl and repeat the process.
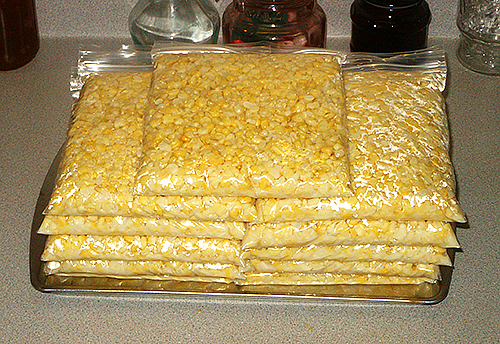 |
| Bagged Corn Ready To Freeze |
I use polyethylene freezer bags with zip closures. It is important to use zip bags specially labelled freezer bags as they will hold up better at the temperatures in the freezer and do better at preventing freezer burns. I found some really nice freezer bags with double zip closures that will give an extra security from opening on their own in the freezer. I stand the bags up; holding the top with one hand, and use a large serving spoon to feed the blanched corn into the bag. After placing a few spoonfuls of corn into the bag, I tap the bag up and down on the worktop a few times to settle the corn. I fill the bags approximately half full, remove the excess air, and zip the bag closed. I then flatten out the bag of corn and date it. Once I have all the bags filled, I place them in my chest freezer.
I was lucky to get this fresh corn. This corn is so much better than what I could buy in a tin from the market. It really isn't that much bother to process and freeze and the difference in quality is certainly worth the effort.
Feedback awaiting moderation
This post has 5 feedbacks awaiting moderation...