I am still doing my preserving; this time it is pear preserves. My neighbour down the street had a pear tree in his garden and I enquired if I could have the pears. I told him I wanted to make some pear preserves and offered him some of the end product in return for the pears. He told me he was not going to use the pears and that I was free to help myself to them.
 |
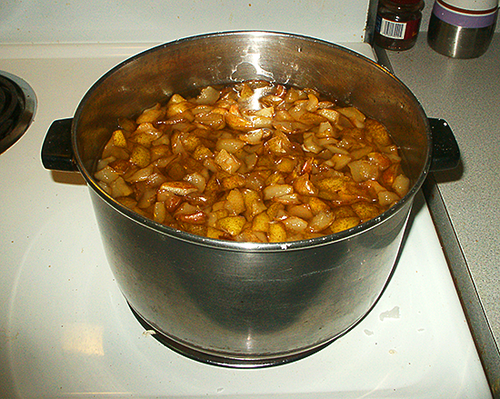
| Pears simmering on the cooker |
When I make my pear preserves or jam, I leave the peel on the pear and cut slices off of the core; be careful to not cut into the core when slicing as the core is a bit tough. Either peeled or unpeeled is fine but since Mum always left the peel on, that is what I do as well. Some fruits have to be peeled, such as apples, because the peel will toughen during cooking. When my pot was almost full, about 7.5 litres, I added a 2.26 kg bag of white sugar and placed the pot on the cooker. You can also allow the pot to sit in the refrigerator over night; the sugar will draw the liquid out of the pears. However, this step is not necessary; you can start cooking the pears without letting them sit. The secret is to put the pot on a low simmer and the low heat will start the process of drawing the juice from the pears. Do not add any water, the juice of the pears is all you want or need. The pectin in the pears and the sugar will form a nice gel.
Making a full pot of these preserves is not a quick job. However, you don't have to stand over the pot as they cook. Just pop into the kitchen now and then to give the pot a stir to make sure the pears are not sticking to the bottom. You don't want scorched pears as the scorched taste will be throughout the pot of preserves. The amount will reduce as the pears cook; I ended up with a reduction amount of about a fourth. Near the end you do have to stand over the pot. When the pears have reached a translucent stage, you are near to the end of the process; the rest is getting the right consistency of the syrup. I check the gel process by taking a bit of the syrup and placing it in a small bowl to cool. When the syrup has reached the right constancy when cooled, it is time to start bottling them.
 |
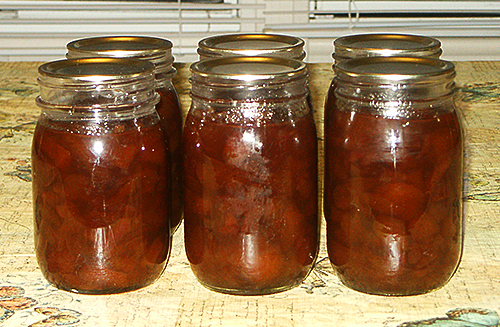
| Six pots of home-made pear preserves |
The bottling process is fairly simple. First check the rim of your jars for any nicks. Nicks on the rim will keep the lids from sealing properly and allow bacteria from the air to enter and spoil the preserves. Wash the jars in hot water with a liberal amount of washing up liquid. Rise the jars in hot water and placed upside down on a clean tea towel to drain and prevent anything from falling into the jars. Sterilise the jars (to prevent cracking, make sure your jars have not cooled) by placing them in a boiling water bath for 10 to 15 minutes. Have a wire rack, or metal plate, in the bottom of the pot with the boiling water to keep the jars off of the bottom of the pot. This will help to prevent cracking as well. If a jar does crack, throw it away as you can no longer use it for bottling. You will sterilise everything that you will use in the bottling process, your funnel and ladle as well as the lids. With a hot jar fresh from the water, be careful as you drain the water from the jar as the boiling water will give you a nasty burn, fill the jar up to just below where the screw band will be, this is known as leaving a head space. Immediately place a sterilised lid in place and screw a band down snugly, but not overly tight. You will need to use an oven mitt to hold the jar as you tighten the band because everything is very hot. Place the jar to the side on a dry tea towel to cool and repeat the process for the next jar. As the jars cool, the lids will pop down with a 'pop' making a tight seal. Do not remove the bands until the jars have completely cooled; I suggest waiting until the next day.
I ended up with seven US pints (473 ml). This will be my first batch as I have more pears left. I had a smidgen left over in the pot and it was very delicious. These preservers are so easy to make, contain loads of fruit unlike a lot of the market ones, and contain no preservatives except for the sugar. I still have plenty of pears so I plan on making more of these preserves as well as some pear syrup. Mum use to make the best pear syrup that was so delicious on waffles.
7 comments
This post has 8051 feedbacks awaiting moderation...
