All through the years when I was growing up, a part of the holiday season was Mum baking a fruitcake. When I was little, I simply watched as my sisters help Mum in the kitchen with mixing the ingredients together and baking the cake. Later when my sisters had left home, it was just me and Mum together in the kitchen baking the holiday fruitcake. Mum is now gone but the holiday would not be the same without baking a fruitcake; in a way it is a connection to Mum and the memories, often accompanied by tears, flow freely.
The cost of the ingredients for making a fruitcake has risen over the years; it is not a cheap cake to bake, so I opted to leave out the additional candied pineapple that we usually included. The container of candied fruit contains some pineapple, but we usually increased the amount. I did buy an additional container of candied cherries to add to the fruitcake mix; it just isn't as nice a cake without the cherries. In the list of ingredients, the candied cherries are mixed in with the candied fruit.
The Ingredients:

228 g (1/2 lb) butter |
|
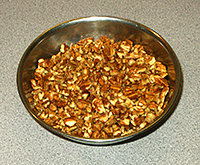
500 ml (2 cups) pecans |
|
500 ml (2 cups) dried dates |
|
500 ml (2 cups) raisins |
|

750 ml (3 cups) plain flour |
|
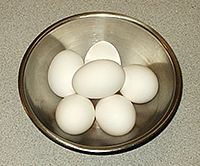
Six large eggs |
|

907 g (2 lbs) candied fruit |
|

500 ml (2 cups) brown sugar |
|
In addition to the ingredients listed above, you will add to 500 ml (2 cups) of the flour, 5 ml (1 tsp) of nutmeg, and 5 ml (1 tsp) baking powder. Set aside 250 ml (1 cup) of the flour to use to coat the nuts, dates, raisins, and candied fruit. Cream together the brown sugar and the melted butter until they are fully incorporated. Add the eggs to the brown sugar and butter one at a time until the mixture has come together in a nice smooth consistency. It is best to break your eggs into a bowl first so you can remove any little bit of eggshell that might slip in. A tip to preventing those little bits of eggshell is to crack your eggs on your flat worktop; cracking on the side of a bowl tends to drive bits of eggshell inside the egg.
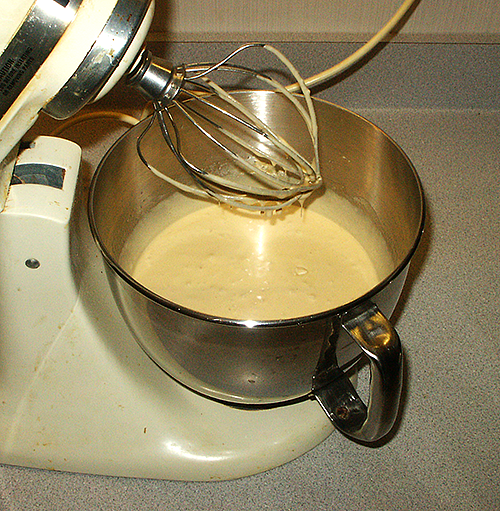
Creamed Brown Sugar, Eggs, and Butter |
Before finishing the batter, take the 250 ml (1 cup) of flour that you set aside and add about half of it to the candied fruit and stir to coat as evenly as possible. Add the dates, nuts, and raisins to the candied fruit and use the remaining flour to finish coating the mixture. The idea of using the flour to coat the mixture is that it will prevent them from sticking together and allow you to better stir them into the batter so they don't clump together.
Add the remaining 500 ml (2 cups) of flour to the brown sugar, butter, and eggs mixture, add it a bit at a time so the flour incorporates evenly. This batter is going to be very thick and you want to make sure the flour incorporates into the batter smoothly without any lumps.
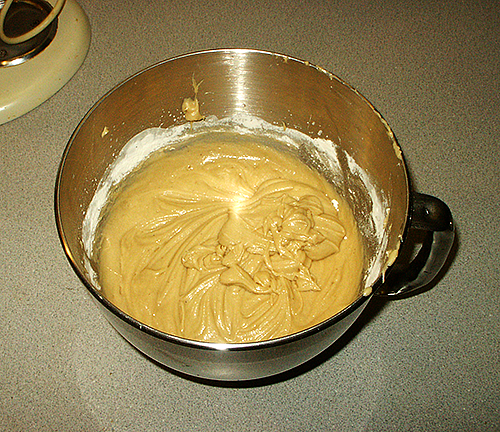
The Batter |
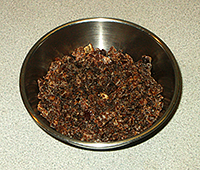
In a large bowl, large enough to hold the batter and the candied fruit/nuts/dates/raisins mixture, combine everything together making sure to stir it well so that all the candied fruits, nuts, dates, and raisins are coated with batter. You will find this a bit of work as the batter is very thick.
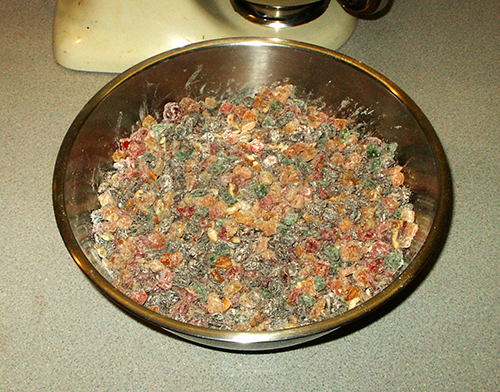
The Final Cake Batter, Ready For The Pans |
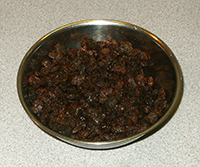
Once it is all together, and everything is coated with the batter, pour the mixture into either a tube cake pan, or two regular loaf pans. In the past I have always made the cake in a tube pan, but this year I decided to make two small cakes in loaf pans. I was not as satisfied with the loaf pans and will return to the tube pan in the future. To make the removal of the cake from the tube or loaf pans easy, cut parchment paper to fit the shape of the bottom of the pans and line the bottom of the pan before filling the pans with the batter. Be sure to press the batter into the pans so there are no air gaps.
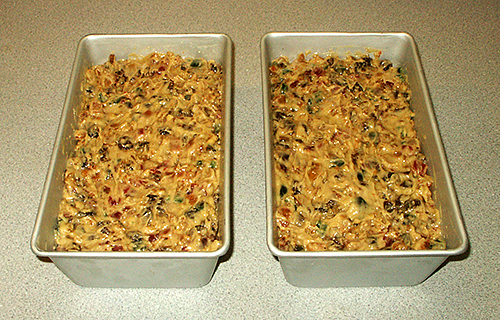
Ready For The Oven |
Place the filled pan(s) into a moderate oven set to 180°C, 350°F, gas mark 4. The amount of time will vary depending on the type of pans used; for the tube pan expect about an hour or more cooking time. The loaf pans will require less time; be sure not to over cook the cake if using the loaf pans as it will dry the cake out. I check the cake near the expected time and wait for the tops to brown to a pretty golden brown colour. Once the fruitcake is done, remove from the oven and allow to cool before removing from the pan. To help remove the cake from the pan, carefully work around the edge of the pan with a flat utensil; the cake should slide out easily with the use of the parchment liner.
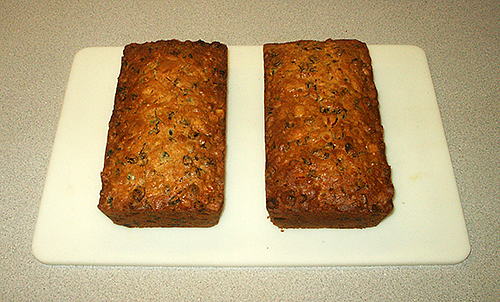
The Finished Fruitcakes |
This fruitcake is a very rich cake, and tastes better than any fruitcake I have tried from a shop. It is best to bake this fruitcake ahead of the holidays so that the flavours of the ingredients have time to permeate the cake. Your holiday guests will really enjoy visiting for a cup of coffee and a slice of your home-baked fruitcake; don't be surprise if they return for a second slice.